Make money on Instagram in 2025 using the latest methods. Start earning with content, reels, shoutouts, and affiliate links.
Table of Contents:
- What I Hate Most:
- Step 1: Choosing a Niche That Actually Works
- Step 2: Setting Up Our Instagram Account to Promote Our Products
- Step 3: Optimize Your Instagram Profile
- Step 4: Signing Up for an Affiliate Platform
- Step 5: How to Sign Up on Fosho
- Step 6: Navigating Your Fosho Dashboard
- Step 7: Fosho Referral Program & Withdrawals
- Step 8: How to Actually Make Money Inside Fosho
- Step 9: Partnering with Brands on Fosho
- Step 10: Promoting Brand Products
- Step 11: Promoting Amazon and AliExpress Products on Fosho
- Step 12: Downloading Images and Applying for Affiliate Links
- Step 13: How to Promote Your Affiliate Links and Get People to Buy
- Step 14: Creating Your Landing Page with Linktree
- Step 15: Adding Affiliate Links and Profile Picture to Your Landing Page
- Step 16: Adding Your Landing Page Link to Instagram
- Step 17: Creating Engaging Video Content to Drive Traffic
- Step 18: Example Video Script: Amazon Home Finds Part One
- Step 19: Why Asking Viewers to Comment Works
- Step 20: Uploading Your Video on Instagram
- Final Words: Be Consistent and Patient
What I Hate Most:
Wasting Time on Side Hustles That Never Pay Off!
You’ve tried, you’ve failed, and meanwhile others are making thousands doing something you scroll past every single day. Honestly, no one tells you how they do it. They keep the secret to themselves until you figure it out the hard way. Well, I figured it out. Here’s proof.
The girl on Instagram promoted an Amazon product as an affiliate. One of her videos had 32 million views after going viral. On that video, she promoted a $180 ice cream maker. Amazon pays a 4.5% commission, meaning she makes $8.10 per sale.
Now do the math: if just 0.5% of those viewers bought, that’s $160,000 in sales. Guess how much she made? Over 1.2 million from one video. Sounds crazy, right? But it’s real. One viral post can literally change your life.
And I’m about to guide you exactly how to do it completely free—not just with Amazon, but with other platforms too. Trust me, it’s simpler than you think. So let’s jump in.

Step 1: Choosing a Niche That Actually Works
It is a waste of time and energy to choose the incorrect niche. So you need to choose one that has high demand, good commission rates, and works well on Instagram.
Now here are the top niches that perform best on Instagram:
- First, wealth
- Second, tech and gadgets
- Third, home and kitchen
- Fourth, fitness and health
- And finally, beauty and skin care
Now just pick one that interests you and that you’d feel confident promoting.
For this example, I’m going with home and kitchen because the commission rates are usually above 4%, which is great, and there’s always a high demand for these products.
Step 2: Setting Up Our Instagram Account to Promote Our Products
After deciding on a niche, the following stage is to create an Instagram account to advertise our goods.
Instead of using a business or brand name, go with a personal name. It feels more real and relatable.
For this example, I’ll use Marlo Evans because it makes the account look like a regular content creator instead of just another sales page.
Profile Picture
Next, we need a profile picture. I’ll generate one using Google Gemini since it’s free and looks professional.
A good profile picture helps build trust, so I’ll go with this one.
Step 3: Optimize Your Instagram Profile
Now that the account is created, here’s the important part: we need to optimize it.
If you don’t set up your profile the right way, you won’t get any views or sales because people won’t know what you’re about. So don’t skip this part.
I’ve added a free ChatGPT prompt in the end to help you create a great bio. Just enter your name and niche, and it’ll generate one for you.
Once you have your bio, head back to Instagram and click Edit Profile.
- In the Name field, type in your name along with a keyword related to your niche.
- Then, in the Bio section, paste the bio you just generated.
It should have a keyword related to your niche, a quick line about how you help your audience, and a call to action—something that tells people what to do next.
For now, leave the link section empty. I’ll guide you on how to add it later.
And that’s it! At this point, your profile is complete, polished, and operational.
Step 4: Signing Up for an Affiliate Platform
Alright, now that our Instagram account is set up, the next step is signing up for an affiliate platform where we can find products to promote and start earning commissions.
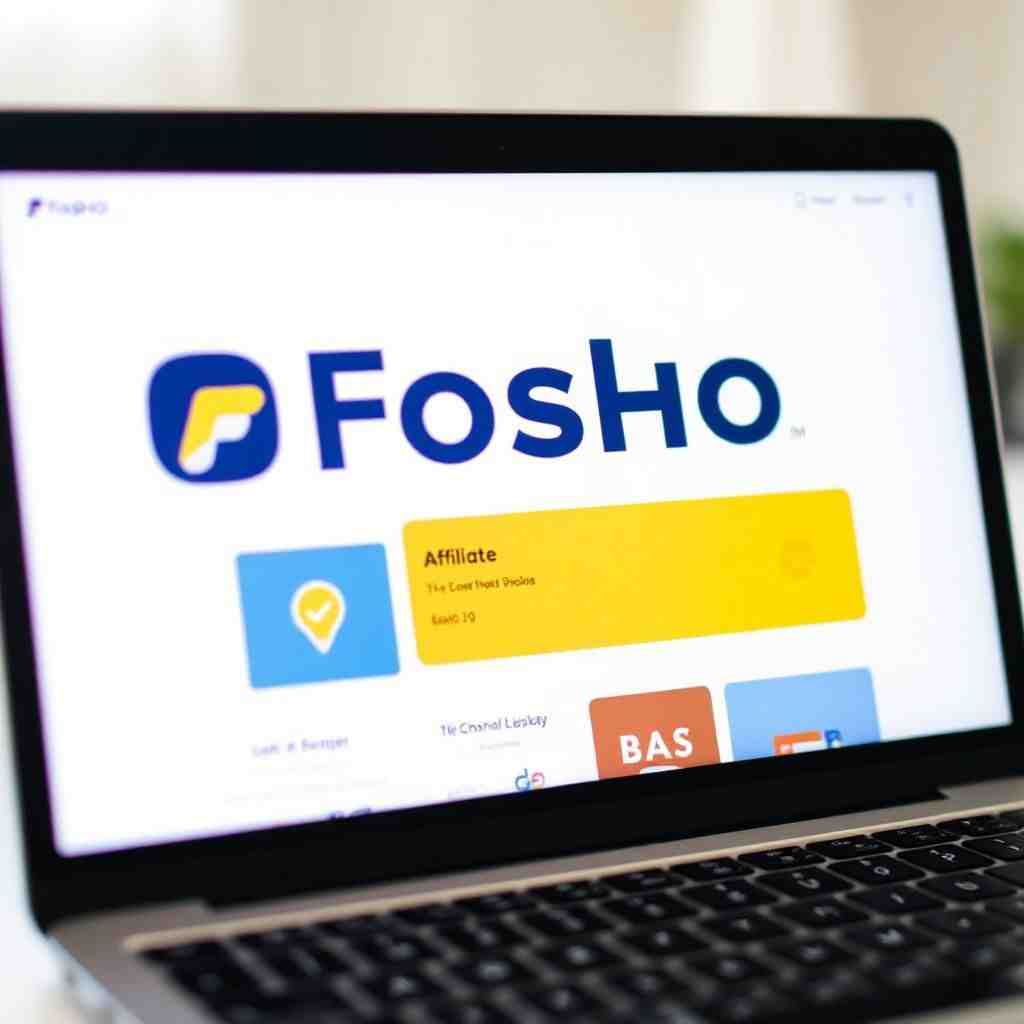
I found a great free affiliate marketing platform called Fosho that lets you earn commissions by promoting products from Amazon, AliExpress, and direct-to-consumer (DTC) brands all in one place.
I’ve included the official website link here. Just click on it, and it’ll take you straight to the signup page.
Fosho is an AI-powered affiliate platform that makes it super easy to find and promote products, helping you monetize your Instagram content without all the hassle.
Step 5: How to Sign Up on Fosho
Let me walk you through the sign-up process:
- Once you’re on the signup page, start by entering your active email address.
- Click Send Code.
- Check your inbox for the verification email and enter the code you received.
- Next, choose a unique username for your account and create a strong password.
- Then, re-enter the password to confirm.
- For your public display name, you can use your real name or brand name.
- From the dropdown menu, pick your nation or area.
- Enter your city of residence.
- Now pick the main category that best fits the types of products you plan to promote. If your niche isn’t listed, just select “Others.”
- Since we’re using Instagram, select Social and Forum as your channel type.
- Enter the complete URL of your Instagram profile together with your handle (Marlo Evans, for example).
- In the description section, briefly explain the type of content you create and your goals. You can also use the example I provided in the description for reference.
- Under content sensitivity, select No.
- Confirm that you’re over 18 years old and agree to Fosho’s terms of use and privacy policy.
- Then, to finish registering, simply click Sign Up.
Your application usually gets reviewed within a day.
Step 6: Navigating Your Fosho Dashboard
Once you’re in, you’ll land on your dashboard, where you can track everything:
- How much you’ve earned
- What’s pending
- What’s already paid
- What’s available for withdrawal
Over here, you can track how well your promotions are doing. You’ll see things like
- How many clicks do your links get?
- How many orders came in.
- The total sales you generated.
- And of course, your earned commissions.
Plus, there’s a section called Collaborations. That’s where you keep track of all your brand stuff:
- How many brands are you already working with?
- How many partnerships did you apply for?
- In reality, how many brands have extended invitations to collaborate with you?
Step 7: Fosho Referral Program & Withdrawals
Here’s something even better: Fosho has a referral program.
You will receive $5 for each person who signs up after you share your special link. Easy money.
When it’s time to cash out, just head over to the Withdraw tab. You can get your money through PayPal or straight to your bank account.
With most affiliate platforms, you might have to wait weeks to get your earnings, but Fosho keeps it smooth. They usually send your money within a day after you request a withdrawal.
That means faster cash flow and fewer delays between your effort and your reward.
Step 8: How to Actually Make Money Inside Fosho
There are two ways to do it:
- First, you can partner with brands and earn commissions when people buy their products through your links.
- Second, you can promote products from Amazon and AliExpress and earn commissions from every sale.
Step 9: Partnering with Brands on Fosho
You want to start partnering with brands, right? When you hop over to the brand section, you’ll see tons of companies looking for people to promote their stuff.
Now here’s the trick: you want to pick brands that fit your niche—you know, the stuff you’re already into. And of course, always go for the ones with higher commission rates. That’s where you make the real money.
For instance, let’s say you’re into fashion. You might see a brand offering a sweet 25% commission. That’s a good deal.
Once you find a brand that fits your style and has a good commission, just click those three little dots, hit Apply, and confirm.
Usually, brands are pretty quick to approve you.
In the Collaboration section, you can see the status of your application. It’ll show you if they’ve accepted you or if it’s still pending.
Step 10: Promoting Brand Products
Now, let’s say you got approved by a brand like Oclean and you want to start promoting their stuff.
What you’ll do is click those three dots again, hit View, and then follow the link to their official website.
Once you’re on the brand’s official website, find a product that you genuinely like and think your audience would be interested in.
Once you’ve spotted a good one, go ahead and copy that product link.
After you’ve got that link, head back over to the Fosho and go to the Link Builder.
Okay, in the Link Builder:
- First, click Official Site.
- Next, select CPS (cost per sale, which means you get paid a commission for each purchase) as the program type.
- Lastly, choose the brand (in my case, Oclean) from where you obtained the link.
- Now paste that product link.
- Tick that little box and hit Get Link.
This generates the special URL that you will distribute to your audience. You automatically receive a commission each time a customer clicks on your link and completes a purchase.
Step 11: Promoting Amazon and AliExpress Products on Fosho
The second way you can make some cash on Fosho is by promoting products from big sites like Amazon and AliExpress.
They’ve got tons of stuff listed on Fosho. Just like with brands, you’ll want to pick products that fit your niche and have good commission rates.
For example, the Highlife clothing steamer gives you a 15% commission through Fosho, while Amazon only gives you 3% for the same product. See the difference? If your goal is to earn more per sale, Fosho can definitely give you that edge.
Once you find a product you like, like this steamer, what you’ll do is hover your mouse over the picture and click on View on Amazon.
Now this is super important: always pop over to the actual Amazon or AliExpress page and take a look at the reviews.
You want to make sure other people like the product before you start promoting it.
For this steamer, it’s got a 4.8 out of 5 stars, which is really good. And the reviews are all positive. So it definitely seems like something worth sharing.
Step 12: Downloading Images and Applying for Affiliate Links
Next, you’ll want to download that exact picture of the product from Amazon and save it on your computer so you know where it is.
Then hop back over to the Fosho product page and simply click Apply and then Confirm.
After that, make sure to copy that special link Fosho gives you along with the product’s name into a simple Word document just to keep everything organized.
You can also look at the AliExpress section if you are unable to discover the goods you are looking for in the Amazon department. They have tons of products there too.
And the process for getting your affiliate link is exactly the same as what I just guided you for Amazon.
Step 13: How to Promote Your Affiliate Links and Get People to Buy
Now that you have your affiliate link, we can move on to the exciting part: how to actually promote those links and get people to click and buy.
To promote your affiliate link, you’ll need two key things:
- A landing page for your link (because direct linking often isn’t allowed).
- Attracting viewers to that landing page with captivating video content.
Step 14: Creating Your Landing Page with Linktree
Let’s start with the landing page.
Head over to a free website called Linktree.
Once you’re there, create a username that exactly matches your Instagram account name.
On the next page, you can skip any paid options. You don’t have to upgrade to their free plan, which functions well.
Just click Get Started on the free option.
Now choose a template for your landing page. A simple, clean design like the black one can work well.
Once you’ve selected a template, enter your exact Instagram name again and write a short bio similar to what you use on Instagram.
Click Continue.
You’re now in the customization area where you’ll add your affiliate links.
Step 15: Adding Affiliate Links and Profile Picture to Your Landing Page
But first, let’s add a profile picture.
To maintain continuity, use the same profile photo as on Instagram.
You should see your profile update.
To add your affiliate link:
- Click Add.
- Paste the affiliate link you already stored in the URL field.
- Then click Add again.
The link is now added, but we need to make the layout compact, as you’ll likely add more links later.
Click on Layout and select Classic.
You’ll see the links become smaller.
Now let’s add the product name.
Copy the product name you saved and paste it next to the link you just added.
Finally, add the product picture.
Upload the image you downloaded earlier.
You’ll see your profile picture is now added, making your landing page more recognizable.
Now when people click the link in your bio, they will see your landing page looking something like this:
- Simple and appealing.
- Your name, profile photo, brief bio, product image, and product name are all prominently displayed.
- With a button that may be clicked to take them directly to the product page.
They will be taken straight to the product page when they click that button.
Additionally, you will receive a commission if they buy something.
Step 16: Adding Your Landing Page Link to Instagram
Now let’s get this landing page onto your Instagram so people can find it.
First, hit Share on Linktree.
You’ll see your special landing page link down there. Go ahead and copy it.
Next, jump over to your Instagram app and tap Edit Profile.
You’ll see an option like Add Link.
Tap that.
Then choose Add External Link.
In the URL spot, just paste that Linktree link you copied.
Hit Save. It might be a checkmark or a done button.
Now head back to your main Instagram profile and you should now see your new link right there in your bio.
So whenever someone clicks that link, it’ll take them straight to your awesome landing page.
Step 17: Creating Engaging Video Content to Drive Traffic
Now that your landing page is ready, it’s time to drive traffic to it.
I put together a quick video myself. It took less than 15 minutes using ChatGPT and a free voiceover tool, so it cost me nothing.
To make it easy for you, I recorded a step-by-step video showing exactly how I did it.
And I included a free guide to walk you through the whole process.
You can grab the guide by commenting below with an Instagram video.
Totally free, no hidden costs.
Just follow along and you’ll be able to make videos like mine in no time.
Step 18: Example Video Script: Amazon Home Finds Part One
To be honest, this tiny steamer has greatly simplified the process of getting ready.
It heats up fast and gets rid of wrinkles in seconds, even on thick fabrics.
You can use it at any angle without it leaking, which is great when you’re rushing and don’t want to mess up your clothes.
The water tank lasts long enough to do like six to ten pieces, and it’s small enough to throw in your bag for travel.
This might become your new best buddy if, like me, you detest ironing.
Comment “shop,” and I’ll send you the link.
Step 19: Why Asking Viewers to Comment Works
Now, at the end of the article, you’ll read me say, “Comment shop for the product link.”
And here’s why:
By this you connected with your customer and shared links directly.
They use the same strategy, asking viewers to comment “shop,” and they get flooded with comments.
That boosted engagement.
And this allows them to send the product link directly to those interested through DMs, giving people two easy ways to find it:
- The link in the bio
- A direct message
Plus, they often include relevant hashtags with that shop call-to-action, which seriously boosts their video’s visibility.
This is a tried-and-true way to drive engagement.
So let’s do the same.
Step 20: Uploading Your Video on Instagram
Now that our video is ready, let’s upload it to Instagram.
The best times to post are
- 11:00 a.m.
- 2:00 p.m.
- 5:00 p.m.
- Or 7:00 p.m.
So make sure to post during those times for the best results.
When you’re uploading, in the caption write this exact line first.
Right after that, add these specific viral hashtags.
This combo can really help your video reach more people.
Next, tap More Options and make sure Upload at Highest Quality is turned on.
This will keep your video looking sharp.
Once you’ve done that, hit Share, and your awesome reel will be live.
Final Words: Be Consistent and Patient
Now, I really want to be honest with you here.
This isn’t some magic trick for instant riches.
It takes a bit of time to build momentum, but once your videos start getting views, you’ll see some serious engagement and sales.
I’ve seen it myself.
The key is to be consistent.
Try posting at least three times a week with different products using this method.
The more you post, the more views you’ll attract.
And if you want to see another article similar to this one, check out the next article—I’ll meet you there.
If you need more information on this or have any query, feel free to ask in comment or also contact us.
